(Front-End Assembly of a 1967 Ford Mustang)
What I thought would take half a day turned out a two day ordeal for me. The splash guards inside the fenders were not installed as the car came from the paint shop, causing me to have to remove the fenders again. It raised the stress levels, knowing that anything could damage the new paint. But it all turned out OK. It's always good to have the internet for tips from Mustang enthusiasts. The Average Joe Restoration site showed me how to assemble the headlight bowl/buckets. Several times I had to do, undo and redo. But I learned a lot and I'm happy to say that I did it all myself....well, my daughter helped a lot too. She even pointed out that I was bolting the valance the wrong way (with the tabs outside). Sometimes you need to stop, step away, take a break, get some perspective, swallow your pride...
First I reviewed the steps one by one and made sure I knew where everything was attached to, and that I had all hardware needed. All original parts to be reused, I thoroughly cleaned, stripped (where necessary) and repainted. All screws and bolts were new. There was to be no grimy rusty hardware in my new front end.


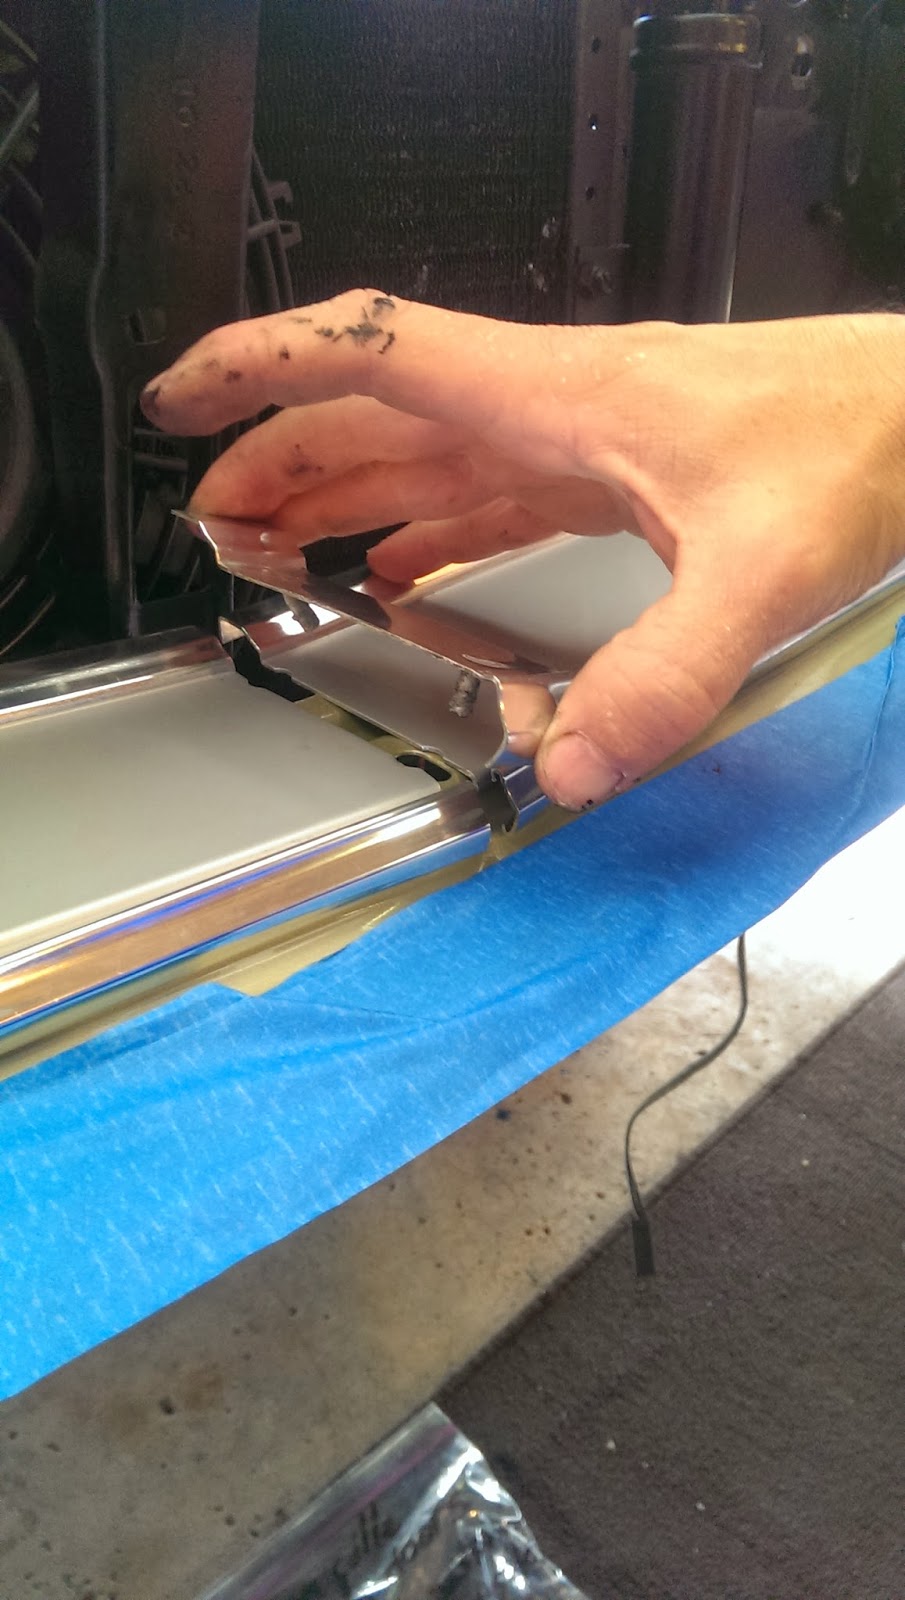
 Yes, I went through the trouble of removing the rubber flaps, refinishing the metal and reattaching the flaps with new clips.
I assembled the valance (parking lights, bezels and self-retaining nuts):


Then I assembled the headlight buckets. A rather simple job, once I knew how to do it:


Fit was rather good. I did not experience many poor-fitment issues. Everything seemed to sort of fall into place...mostly.
After the thin grille molding, the grille joint cover was installed (A), then the grille (B, C)
After that, I reconnected all wire plugs for the headlights and tested them:


After installing the horse/corral and grille bars ("blades"), everything was ready for the installation of the valance, but before that, I decided to test-fit the bumper to see if the gaps between stone guard, the grille moldings and bumper were good.
 The bumper requires 4 chrome round-head bolted to the inner and outer bumper brackets. Then two fender bolts at each brackets in each end of the bumper, these are bolted to the fender (from the inside) to a self-retaining nut in the bumper bracket:


Once all that was done, I installed the valance and checked fit. Then I did the following steps to check fitment again and again until everything was right (every case is different):
Removed the bumper back out
Bolted the two upper bolts of the valance onto the car frame,
Reinstalled the bumper (loose),
Connected the parking light plugs,
Tested operation of the parking lights,
Completed the assembly of the valance (lower and side bolts),
Tightened all bumper bolts
Tightened all valance bolts


 The bumper was about 3/4 inch higher on the passenger side. The inner bracket had to be pushed downwards a bit. Problem solved.
Not bad for a Ford Mustang rookie family. It feels good knowing that you are using brand new shiny hardware, and that all original parts reused are clean and refurbished.

What I thought would take half a day turned out a two day ordeal for me. The splash guards inside the fenders were not installed as the car came from the paint shop, causing me to have to remove the fenders again. It raised the stress levels, knowing that anything could damage the new paint. But it all turned out OK. It's always good to have the internet for tips from Mustang enthusiasts. The Average Joe Restoration site showed me how to assemble the headlight bowl/buckets. Several times I had to do, undo and redo. But I learned a lot and I'm happy to say that I did it all myself....well, my daughter helped a lot too. She even pointed out that I was bolting the valance the wrong way (with the tabs outside). Sometimes you need to stop, step away, take a break, get some perspective, swallow your pride...
First I reviewed the steps one by one and made sure I knew where everything was attached to, and that I had all hardware needed. All original parts to be reused, I thoroughly cleaned, stripped (where necessary) and repainted. All screws and bolts were new. There was to be no grimy rusty hardware in my new front end.

These tasks delayed my project a whole day. I had to refinish them before reinstallation and it was a tough job, but they turned out nice. I could have bought all these of course, but I decided I could refinish them, add rust protection, original colors, new hardware, and save some money:


I assembled the valance (parking lights, bezels and self-retaining nuts):


Then I assembled the headlight buckets. A rather simple job, once I knew how to do it:
After carefully disassembling the fenders to keep the fresh paint from scratching, installing the headlight bucket assy., I re-installed the fenders. Then I installed the brand new repop stone guard using 3 special square-headed bolts:

The four (two inner and two outer) bumper brackets were installed. These were left loose until the bumper was fitted.

Then I installed the wide grille moldings. These are the original pieces that I recoated with argent gray for a fresh look. It took 3 screws in the front (per half), and three in rear tabs (engine side):

Next step was the thin grille moldings. These use 3 of the special "fishhook" type molding clips which come with their own nuts:


Fit was rather good. I did not experience many poor-fitment issues. Everything seemed to sort of fall into place...mostly.
After the thin grille molding, the grille joint cover was installed (A), then the grille (B, C)
A B.
B. C.
C. 
 B.
B. C.
C. 
After that, I reconnected all wire plugs for the headlights and tested them:


After installing the horse/corral and grille bars ("blades"), everything was ready for the installation of the valance, but before that, I decided to test-fit the bumper to see if the gaps between stone guard, the grille moldings and bumper were good.


Once all that was done, I installed the valance and checked fit. Then I did the following steps to check fitment again and again until everything was right (every case is different):
Removed the bumper back out
Bolted the two upper bolts of the valance onto the car frame,
Reinstalled the bumper (loose),
Connected the parking light plugs,
Tested operation of the parking lights,
Completed the assembly of the valance (lower and side bolts),
Tightened all bumper bolts
Tightened all valance bolts

OK, maybe there was an easier way to do it, but that's is how I did it, based on the particular fit of all my parts. Both the Stone guard and the valance are aftermarket sheetmetal and I had to do some pushing and bending.
The hood trim followed. This is a brand new piece to replace the old faded one:

Finally, Alanis installed the bumper guards and, after the lights were adjusted, the door light rings:


Not bad for a Ford Mustang rookie family. It feels good knowing that you are using brand new shiny hardware, and that all original parts reused are clean and refurbished.

Great walk-through Ivan! I love seeing another Mustang moving through the final-assembly stage. Congrats!
ReplyDeleteI need to book mark this for later (probably MUCH later) use. Great description. And I do have to admit a certain level of envy with your Mustang coming together. Keep on it and you'll be driving it soon!
ReplyDeleteThank you guys. The front end was a lot easier than the doors. Assembling those are a real PITA!
ReplyDeleteI can't find an upholsterer to do the vinyl top. The only one around is getting back surgery! Great timing! So I can't install the glass and trim until the top is done. I don't want to do it myself. That is one job better left to experienced pro's. So we'll see...
Don't rush the Fastback Dennis, take your time and guide us through the details. That car is going to be the real KR soon enough.
I know this is an old thread. However, I recently found a 67 that I'll be restoring. My question is, what is the piece called between the top of the front bumper and the lower portion of the grille? It appeears bolted on on each end of it. Thank you
ReplyDeleteJames
It is the stone guard.
DeleteI'm working on my '68 Pony and this helps a lot, mine needs a paint job among other things here and there and I just got an Edelbrock carb and manifold, and I'm working my way out from the engine to the front, I'm not interested in making it look stock at all, I want a muscle car look, so I did get a fixer upper a while back and been working on in for a while now, soon it will roar like a beast, anyways I found out the front bumper was dented with the stone guard, so now I have to fix all of that and order some brackets and screws, but it's looking good so far, can't wait till I get it started.....thanks for your info and pics.....
ReplyDelete